Entertainment
A Beginner's Guide to Niseko Backcountry Gear: What to Get First
Niseko Hub Editorial Team · 2026/06/17
Deep in the Niseko forest, on a slope with no tracks but your own, you draw your own line. The backcountry — the world beyond the resort gates — offers a quiet and a freedom you won't find on the groomed runs.
But before you take that first step, there's one thing you'll always need: the right gear. There's a lot of it, and it's easy to feel lost about where to begin.
This guide is for you, the first-timer heading into the Niseko backcountry. We'll sort the gear out by what it is, why you need it, and how to choose it. By the end, you'll know what belongs at the top of your shopping list.
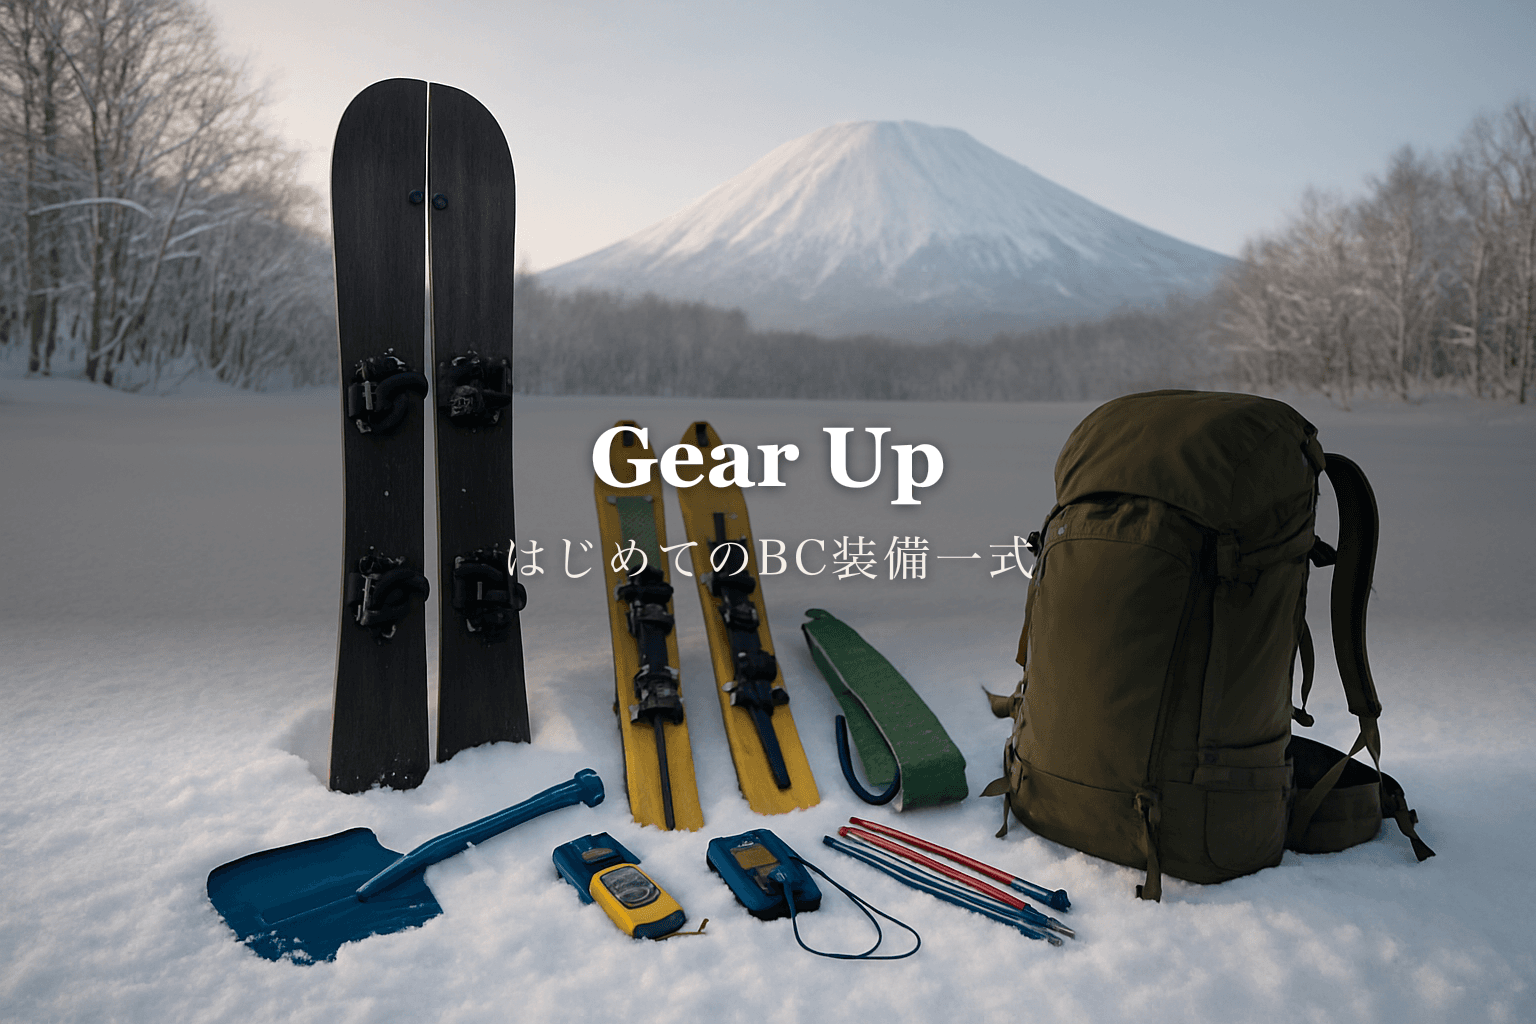
- Start with the gear that saves lives (beacon, probe, shovel)
- Think of "climbing tools" and "riding tools" separately
- The pricey items can be rented before you buy
How to Think About Backcountry Gear: Climb, Ride, and Stay Safe
The biggest difference from resort gear is that you climb under your own power. There are no lifts.
So your kit splits into three roles. Tools to climb the snowy slope. Tools to ride back down. And tools to protect your life if an avalanche strikes.
That third group — your safety gear — is the one you can't put off. Let's go through them in order.
The Three Essentials: Beacon, Probe, Shovel
Beacon, probe, and shovel are often called the "three essentials." They're the tools for digging a buried partner out while they're still alive.
Everyone heading into the backcountry carries all three, and knows how to use them by feel. Miss even one, and a rescue simply can't happen.
Avalanche Beacon
A beacon sends and receives a signal to locate a buried person. You wear it on your body from the moment you set out.
Choose a recent digital model with three antennas. The display is clearer and easier for beginners to follow. And always check the battery level before you go.
Probe
A probe is a thin, foldable pole. After the beacon narrows things down, you push it into the snow to pinpoint the exact depth and location of the buried person.
Look for 240cm or longer. Burials can be deep, and a short probe won't reach.
Shovel
This is the metal scoop for digging. Plastic shovels often can't bite into the hard, compacted snow of avalanche debris, so always choose metal, such as aluminum.
✅ Owning the beacon, probe, and shovel isn't enough. Run a send-and-receive check on your beacon before every trip, and take a search-and-rescue practice session at least once.
Tools for Climbing: Splitboard, Touring Skis, Snowshoes
How you climb depends on what you ride.
Splitboard
A splitboard is a snowboard that splits lengthwise into two ski-like halves. You separate it and apply skins to climb, then clip it back into one board to ride down.
Pick one a touch stiffer than your usual board for stability on the climb. The bindings usually attach through a dedicated interface rather than screwing straight into the board, and there are kits that let you keep using your current bindings.
Touring Skis (Alpine Touring)
Skiers use touring bindings with a heel that lifts. You free the heel to walk uphill, then lock it down to ride.
Snowshoes
You can also carry your board and walk on snowshoes. This is the simplest setup, and an easy way to start with a guided tour.
Climbing Skins
Skins are fabric strips with a nap that you stick to the base of your board or skis. The hairs lie one direction, so you slide forward but not back — that's what lets you climb a snowy slope.
Splitboard-specific skins are increasingly common; you just trim them to your board's shape. After use, don't leave them wet — dry them well before storing.
What You Carry: Backpack and Avalanche Airbag
A dedicated backpack to hold your board, skins, snacks, water, and layers makes a real difference. For a day trip, around 30L is a good guide. Choose one with straps designed to carry a board.
For a step up in protection, there are packs with a built-in avalanche airbag. Pull the handle the moment a slide catches you and a balloon inflates, helping you stay near the surface. It's expensive, but worth knowing about as a life-saving option.
Clothing and Small Items: Keep Moving in a −20°C World
Niseko's deep winter can reach −20°C. Yet you'll be sweating on the climb. Managing that swing is the heart of dressing well.
Wear a base layer that moves sweat away from your skin (synthetic or wool), add layers on top, and adjust often by taking things on and off. Avoid cotton next to your skin — it chills you once it's damp.
- A waterproof, breathable jacket and pants
- A spare pair of gloves (a second set for when one gets wet)
- Goggles, plus a spare lens
- A warm hat and neck gaiter
- Snacks, and a hot drink in an insulated bottle
Start With Rentals and a Guide
By now you may be thinking it all adds up fast. You're right. A full safety kit plus a board is a real investment.
That's exactly why renting first makes sense. Shops around Niseko rent beacon-probe-shovel sets and splitboards by the day. Prices vary by gear and shop, so check each shop's official site for the latest.
Most of all, make your first trip a guided one. Many tours lend you safety gear for free and teach you how to use it on the spot. Before you buy a thing, go into the mountains with someone experienced. It's the safest path, and the fastest one.
Before the Gear, There's Something to Know
Even with the right gear, heading out without understanding avalanches, rescue, and insurance is dangerous.
We've put together a separate article on what to prepare and what happens if things go wrong. Please read it before you go.
Gear isn't only there for freedom. It's there so you come home safe. Choose it well, and have your best day in Niseko.
— Niseko Hub Editorial Team